December 18, 2015

Park City Great Room Remodel

We love a good remodeling project, especially when the Before photos really show the dramatic change.  This is the perfect Before & After project to showcase!   We're grateful that we have projects like this to add to our portfolio.  On top of that, the clients are wonderful and fun people, so we really lucked out with this one!

There once was a wall at the top of the stairs:


And there was a small kitchen behind that wall:


We removed that wall, added a giant beam, and drastically opened up the space!

This is now what you see when you go up the stairs:

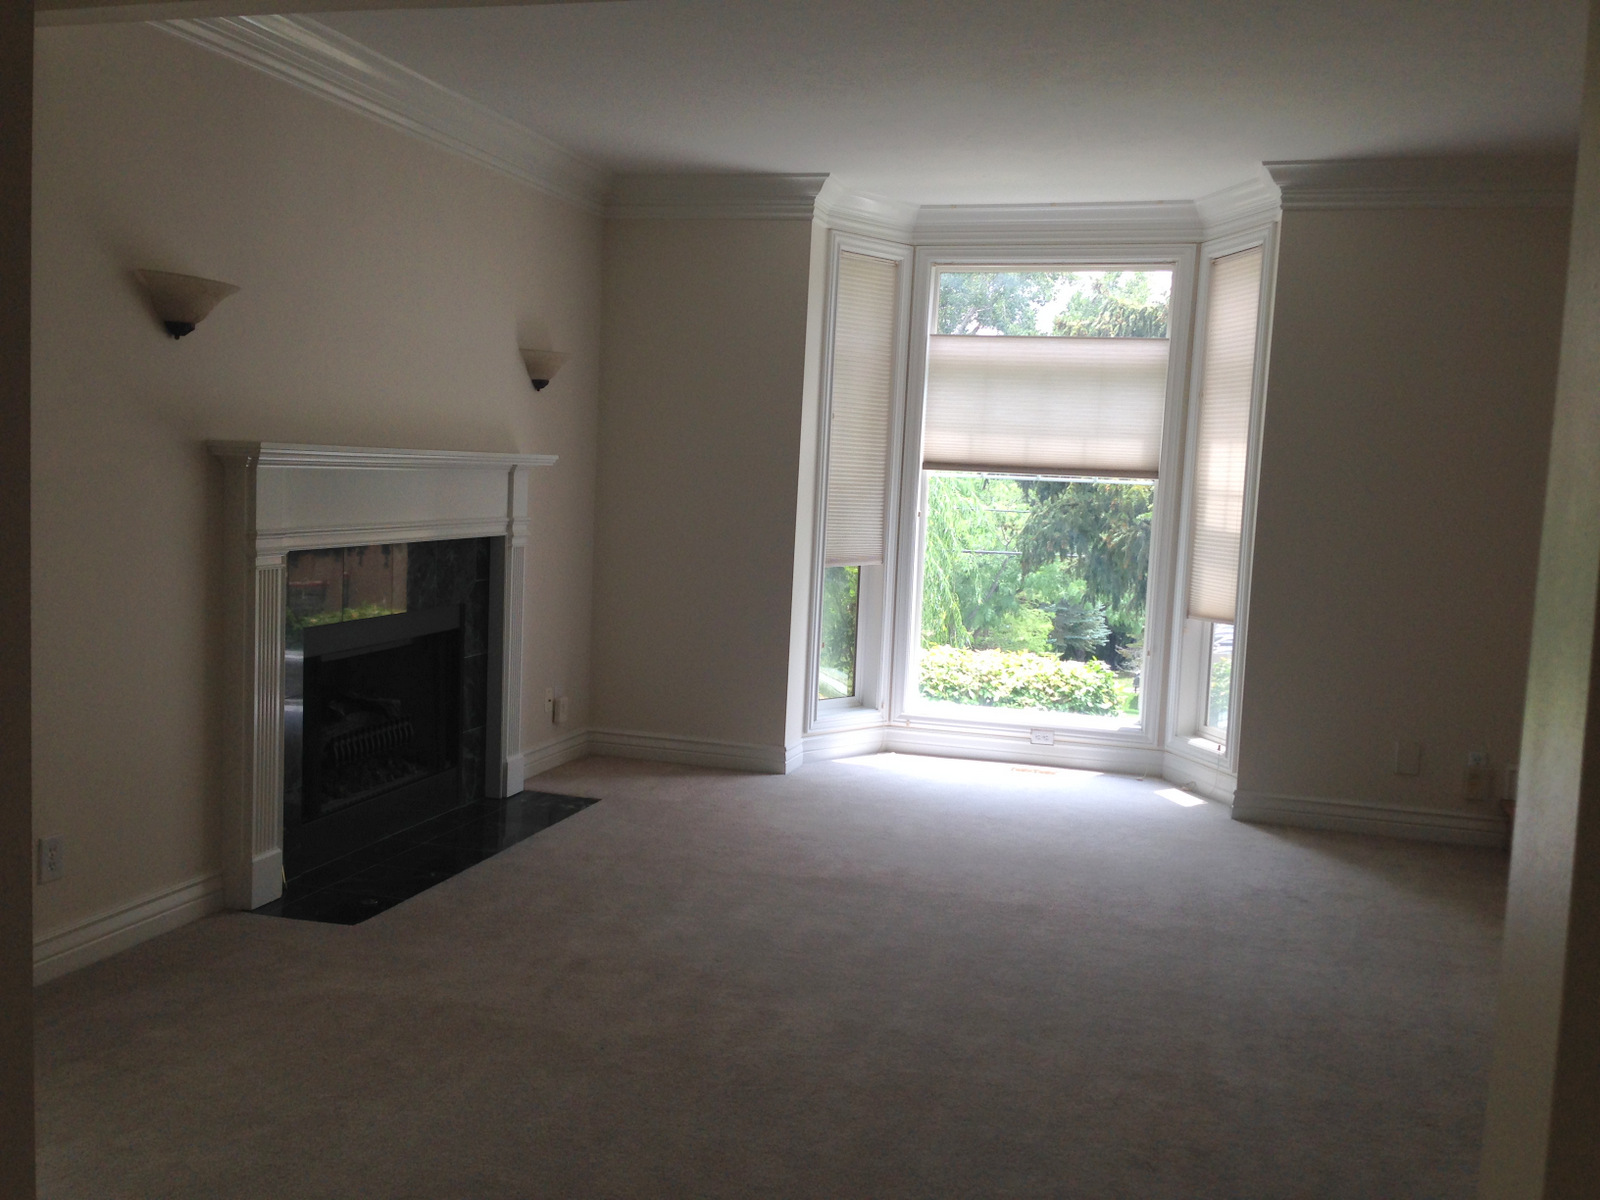
And this is the view from the Living Room:

We also got creative with the closet/desk wall, which used to look like this:

We maximized the unused nooks & crannies, and now it looks like this:

Complete with built-in coffeemaker, double ovens, and plenty of pantry space.  We even added a small appliance center, where items like the toaster can be used in place.  No plugging / unplugging or moving required!


And while we were at it, we replaced the railing to better fit the new design.  I love the details and the craftsmanship:

Special credit to the following people for being willing to work with us and our picky requirements for flooring, custom cabinetry finish, and the difficult challenge of making the tall wall of cabinets fit the way we wanted.

General Contractor:  Wade Brinton, Brinton Homes
Cabinetry:  Preston Tilby, Paramount Cabinets

Photo Credit:  Lucy Call

October 22, 2015

Living Room Makeover


We definitely have a wide variety of projects right now.  Our projects include new builds, remodels, furnishings, and even a few commercial projects.  Styles range from historic period styles to transitional to modern.  And each project is challenging and exciting in its own way.


This particular client was moving into a new (empty) home with simple yet very traditional details, so we had a blank canvas to work with.  While we did miscellaneous projects throughout the whole house, the main focus was the Living Room.  We had to work with the existing fireplace and wall sconces (perhaps they will be part of Phase 2?), and the layout of the room was a bit challenging.

Here's what it looked like before:


We painted, added hardwood floors, built a pass-through into the Kitchen, and furnished the space.  We incorporated some of the client's existing furniture (bookcase, bar stools, etc.) and they added the finishing touches from their own accessories and extensive art collection.


The client also wanted drapery in the bay window, which was a tight space.  We opted for stationary panels in a lightweight linen that blended well with the wall color, to avoid too much bulk.

Before photo of the bay window:

And after:


The client gave us a lot of freedom, and she trusted us to make it happen.  Because of this, we were able to complete the project on time and on budget, with little added stress for the client.  And it looks great.


August 31, 2015

Exterior Makeover

It's amazing how exterior colors can completely change the look of a house.  Check out this example.  Our client's Park City home went from boring brown to vibrant blue!

 Before:
(image screenshot via google maps, street view)

After:

Color Scheme (Sherwin Williams paint):
SW 0048 Bunglehouse Blue
SW 2826 Colonial Revival Green Stone
SW 7048 Urbane Bronze
SW 6148 Wool Skein


May 28, 2015

Duplex Remodel - Before, During, and Present

Well, it sure has been a while since I've posted anything here... Here's why:

This little guy is almost 3 months old, which means my wonderful yet exhausting maternity leave is nearly over! 

The other reason I haven't been posting:  Our remodel.  I'm calling this post "before, during, and present" rather than "before, during, and after" because we're not quite to the after part yet, and I'm not sure when we will be now that there's a baby around.  But I didn't want to wait 5 years before posting anything, so I'm showing you where we're at right now rather than waiting for perfection (which realistically will probably never happen).

I tried to track progress with photos taken from the front door throughout the project.  Take a look, and scroll to the bottom to see the mostly-finished product!

Before:

Wall Demo:

Arch Demo:

Demo mostly done.  New walls framed:

Drywall / Plaster patch: 

Mudding:

Wall paint done:

 Patio door installed (we obviously did this in the wrong order!).  Prepping for 1st coat of ceiling paint:

Toothing in and refinishing hardwood floors:

Floors done and protected.  Prepping for 2nd (and 3rd and 4th!) coat of ceiling paint:

Paint done.  Cabinets & trim installed:

Countertops installed.  Appliances delivered.  Believe it or not, this was the morning of moving day:

End of moving day:

Today:*


*I will get better photos of this later, as this is pretty poor quality / color.  The back door lets in so much light that it's hard to photograph during the day!